
Plans are new in WPSubscription 2.0. Instead of typing a billing period into every product, you build a plan once — monthly, yearly, whatever you sell — and attach products to it. The plan holds the schedule; each product brings its own price. Change the schedule and every product on the plan changes with it.
This article covers the Plans screen and creating your first plan. Three more articles carry on from here: durations, products and pricing, and direct checkout links.
Prerequisites
WooCommerce, active.
WPSubscription 2.0 or later. Plans do not exist in 1.x.
WPSubscription Pro 2.0 or later for the Recurring Delivery and Split Payment plan types, signup fees and variable products. Everything else on this page works in the free plugin.
The three pieces
A plan is made of three things, and the rest of the Plans documentation is organised around them.
Piece | What it is |
|---|---|
Plan | A named container with a type. "Subscribe & Save", "Wellness Membership". |
Duration | One billing schedule inside the plan — every month, every 3 months, every year. A plan can have as many as you like, and the customer picks one at checkout. |
Product | A WooCommerce product attached to the plan, with its own price for each duration. |
Note: Plans do not replace the per-product subscription settings from 1.x. Those still work, and every existing subscription keeps renewing exactly as before. A product's Subscription tab has a Switch to simple mode button that takes you back to the classic fields whenever you want them.
The Plans screen
Go to WPSubscription → Plans. Every plan in the store is listed with its type, how many durations it holds, how many products are attached, and when it was last edited.
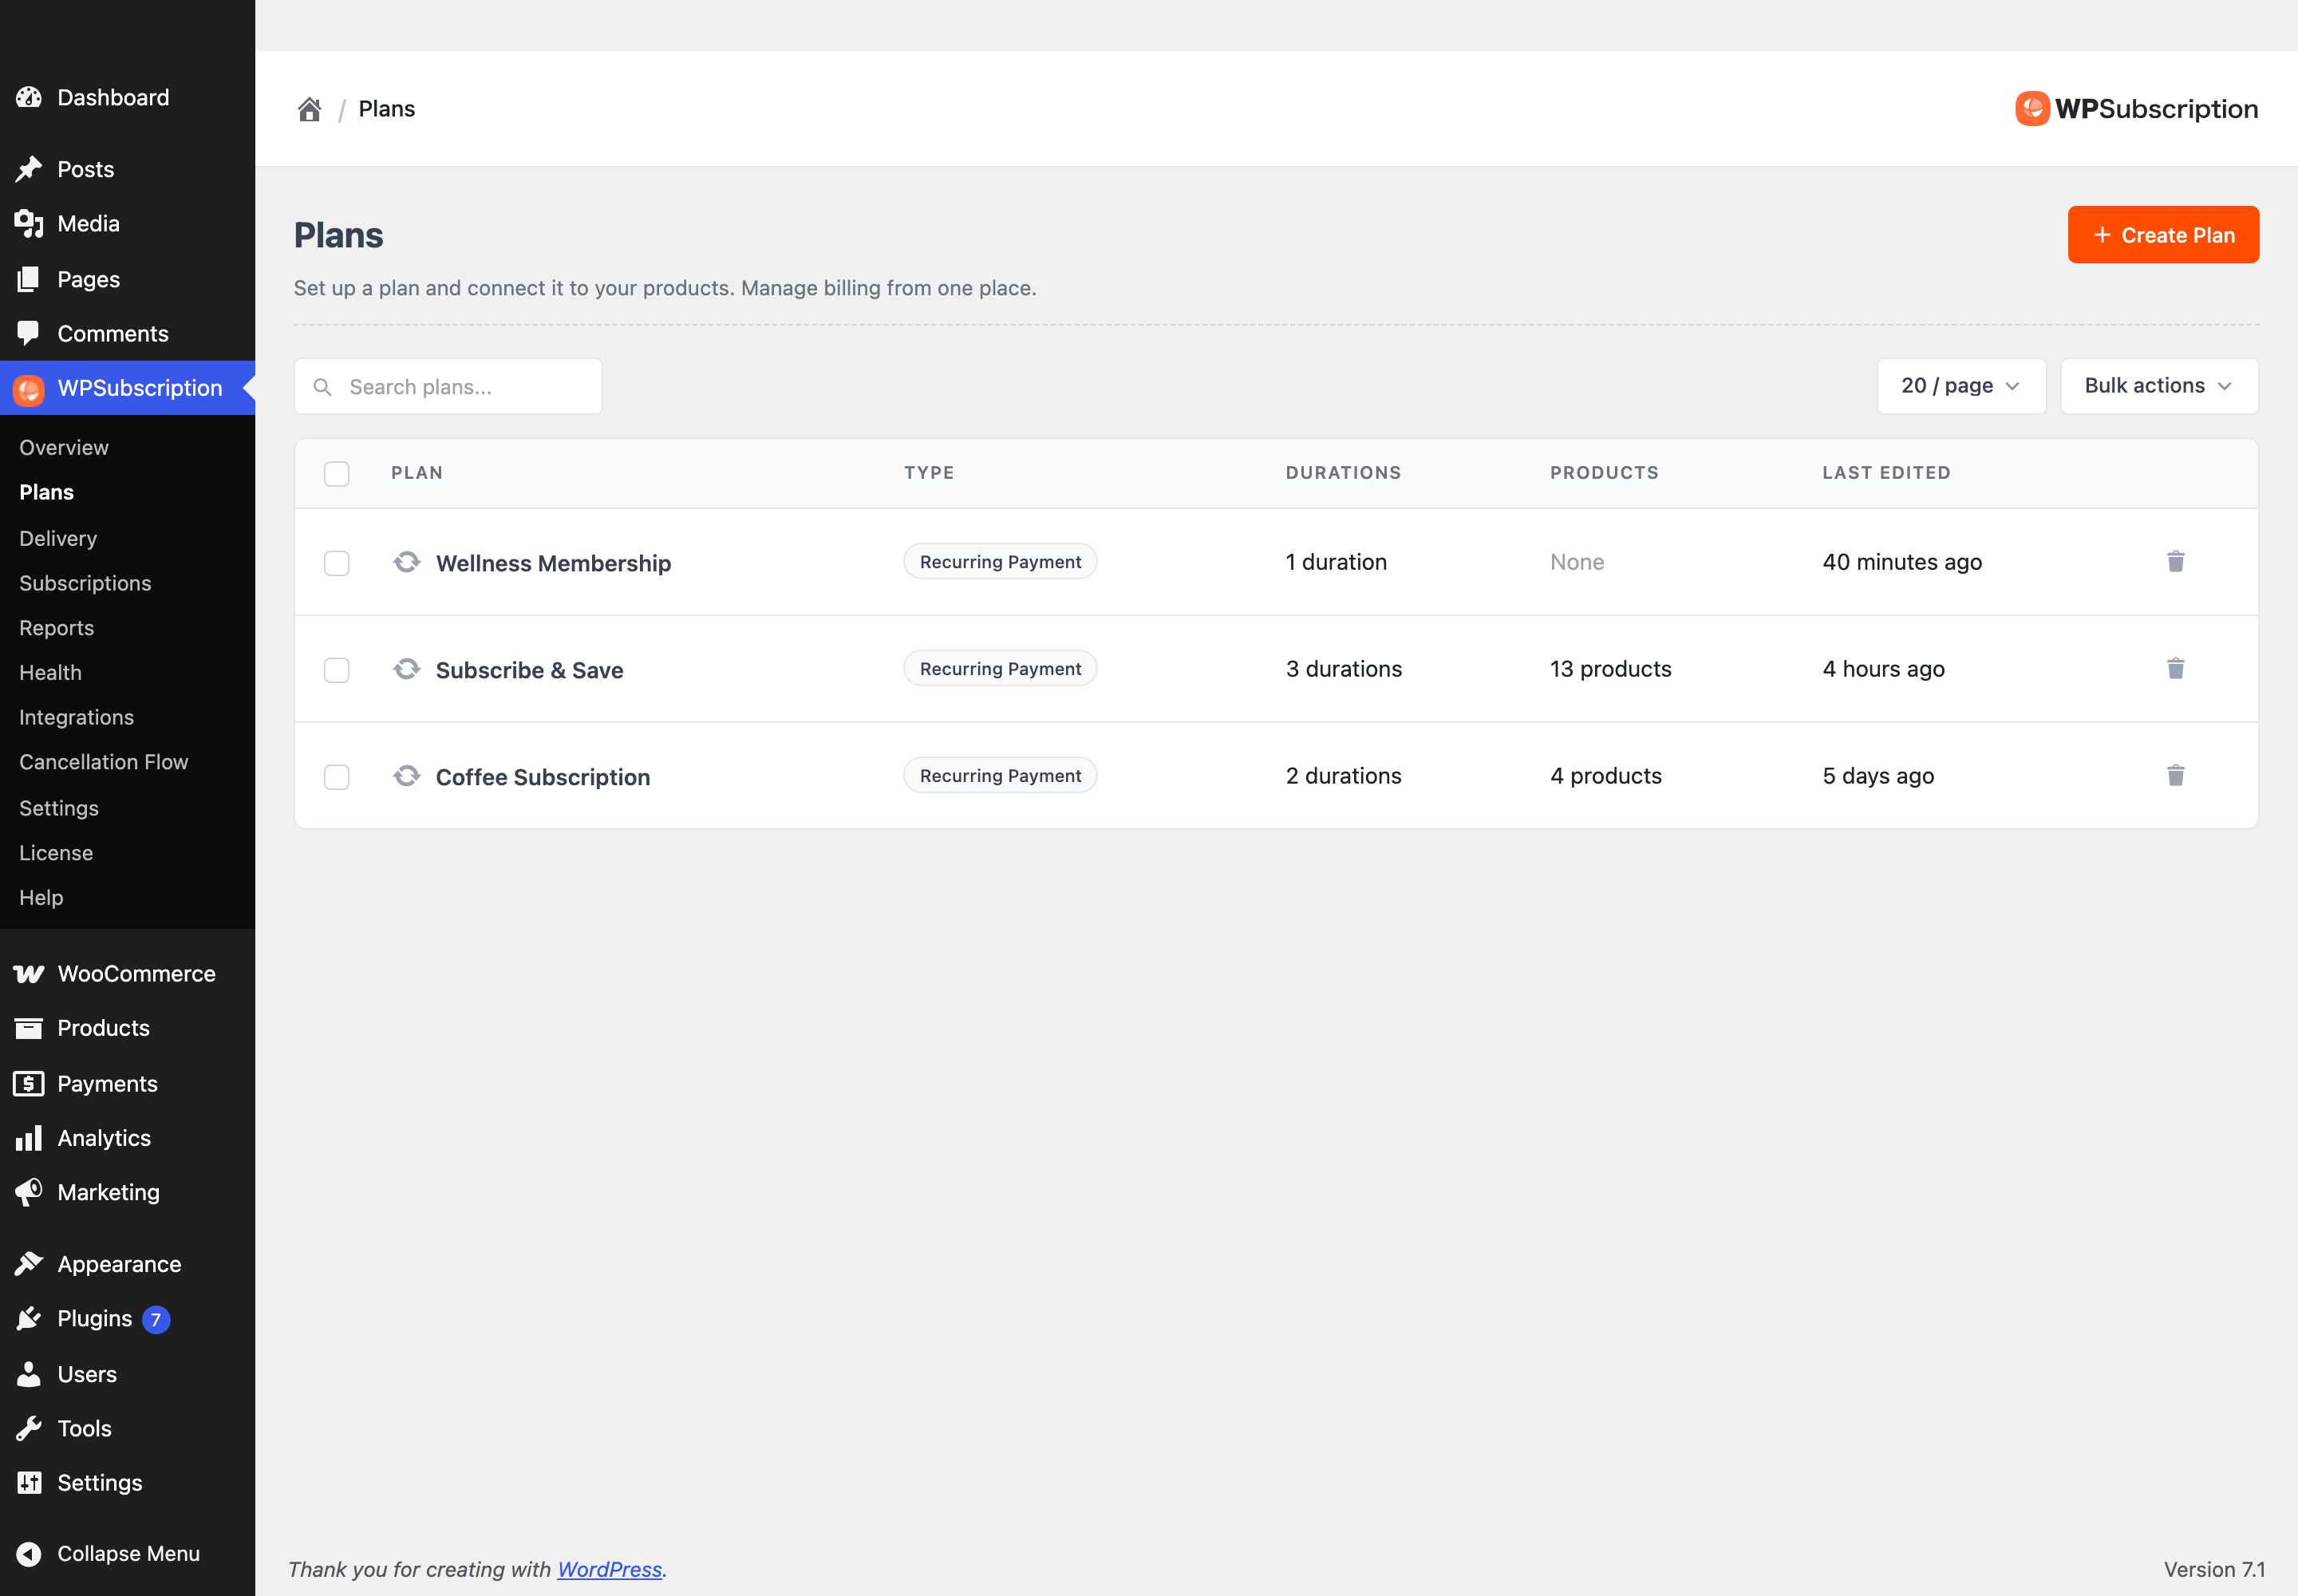
The toolbar above the table searches plans by name, changes how many rows are shown at once, and runs bulk actions across the plans you tick.

Warning: Deleting a plan — from the trash icon on its row, or in bulk — also deletes all of its durations and detaches every product on it. It cannot be undone. Subscriptions customers already bought are not cancelled; they keep renewing on the terms that were recorded when they signed up.
Step 1 — Create a plan
Click Create Plan.
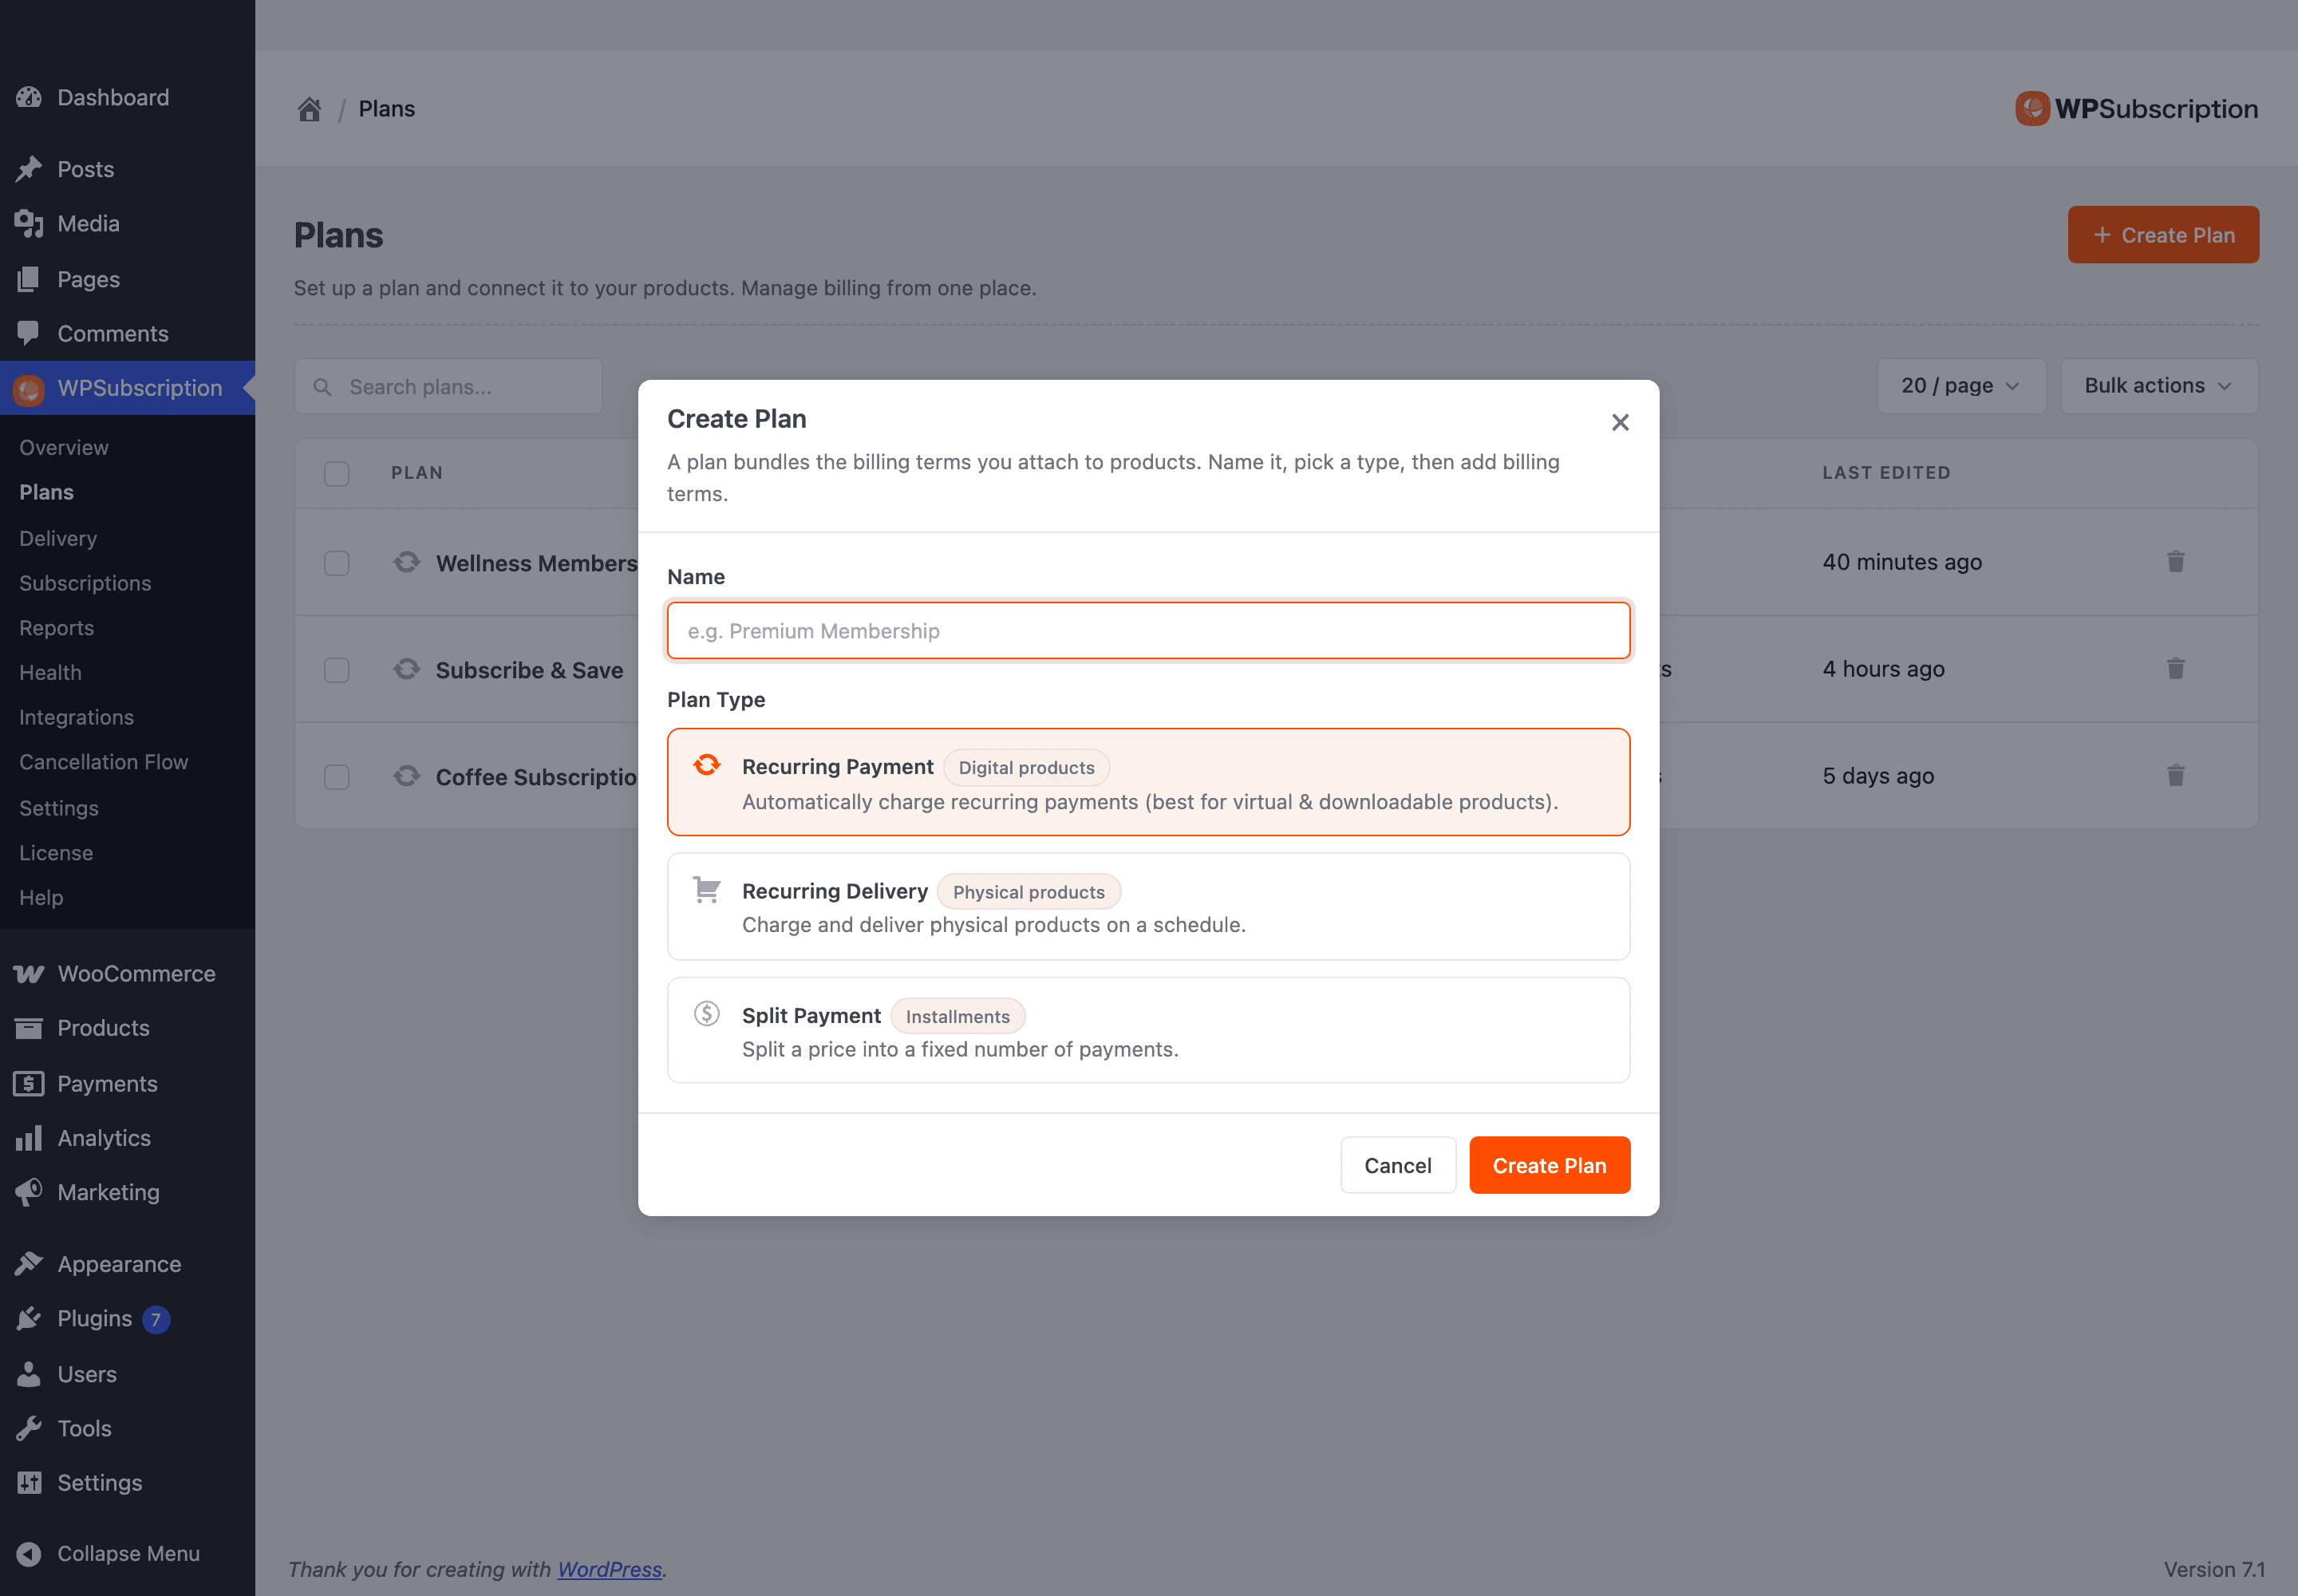
Name
Customers see this name on the product page, above the duration buttons — so name it the way you would sell it. Subscribe & Save and Premium Membership read well on a storefront; Plan 2 does not.
Plan Type
The type is fixed once the plan is created, so pick it deliberately.
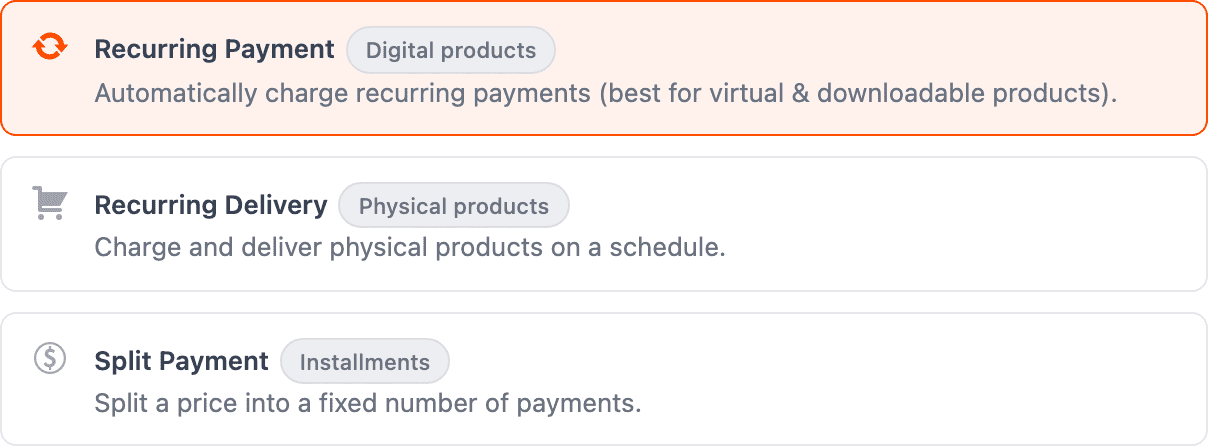
Type | Use it for | Free | Pro |
|---|---|---|---|
Recurring Payment | Charging on a schedule — memberships, software, anything virtual or downloadable. | ✓ | ✓ |
Recurring Delivery | Shipping a physical product on a schedule, where the delivery cadence can differ from the billing cadence. | ✗ | ✓ |
Split Payment | Splitting one price into a fixed number of payments, then stopping. | ✗ | ✓ |
On a free-only install the second and third cards are shown but locked, with a Pro badge — so you can see what they do without installing anything.
Type the name, pick the type, and click Create Plan.
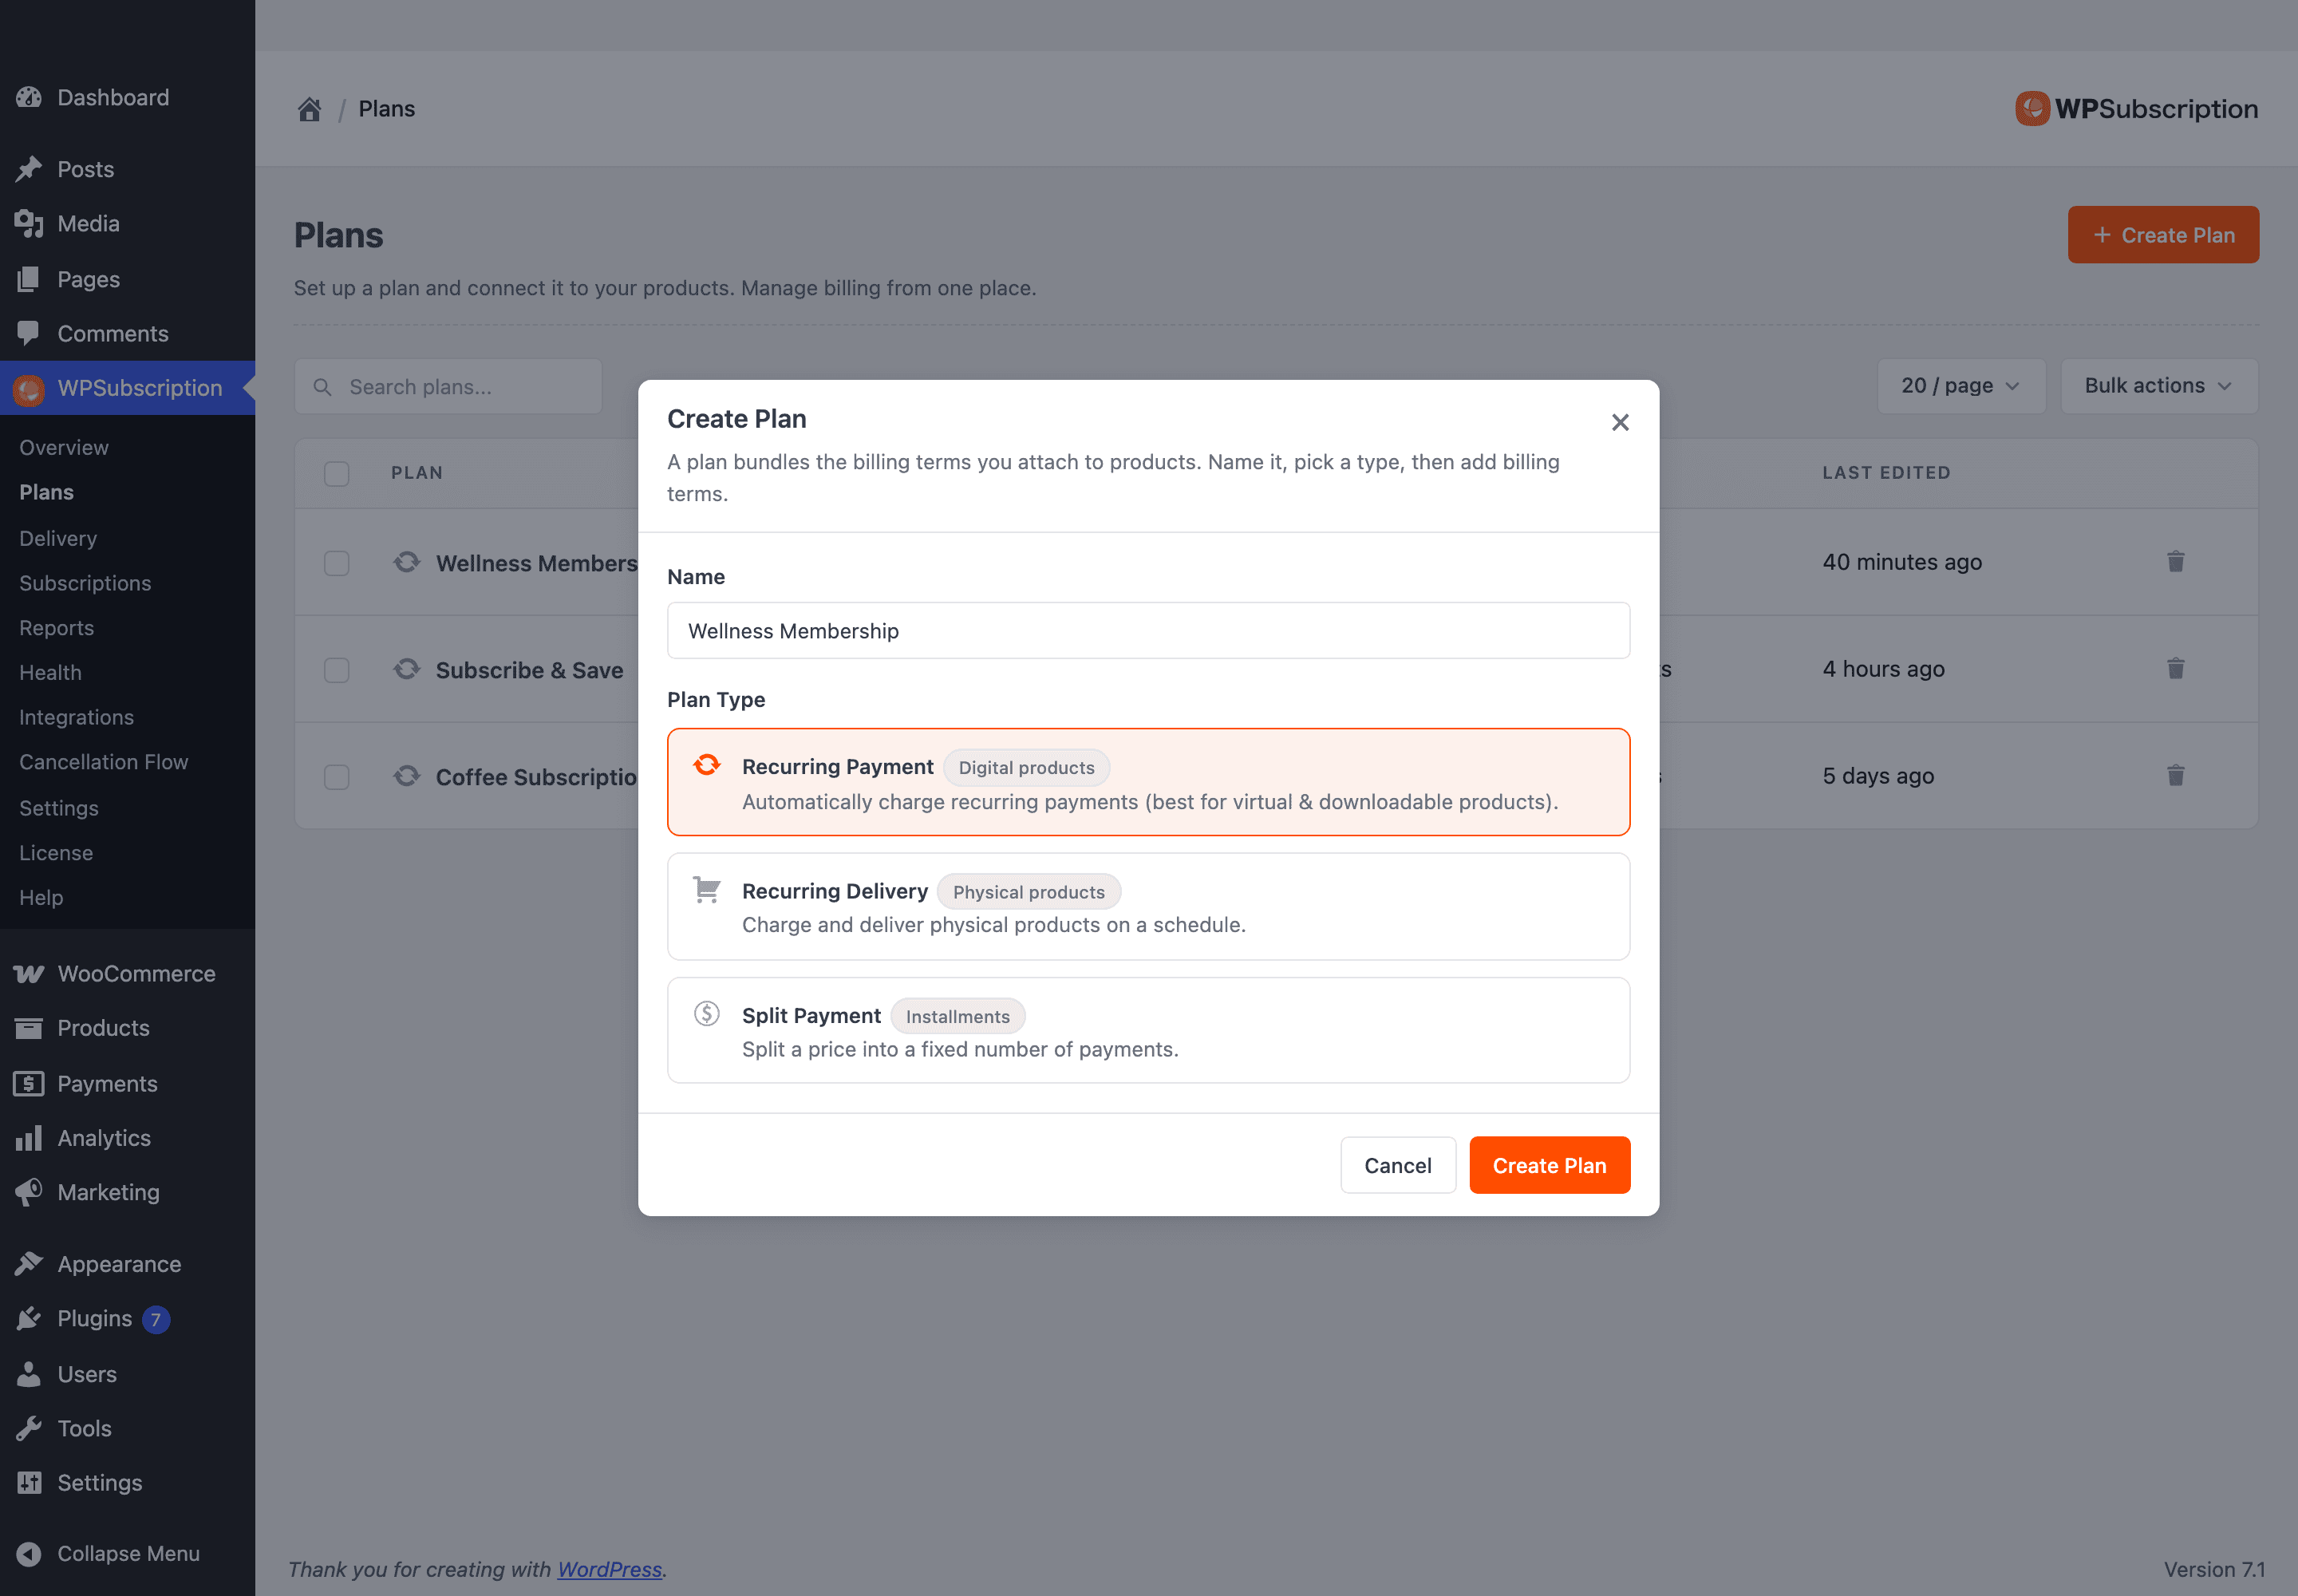
Step 2 — Meet the new plan
The plan opens on its Durations tab, already holding one duration called Monthly, billed every month — a starting point, created for you.
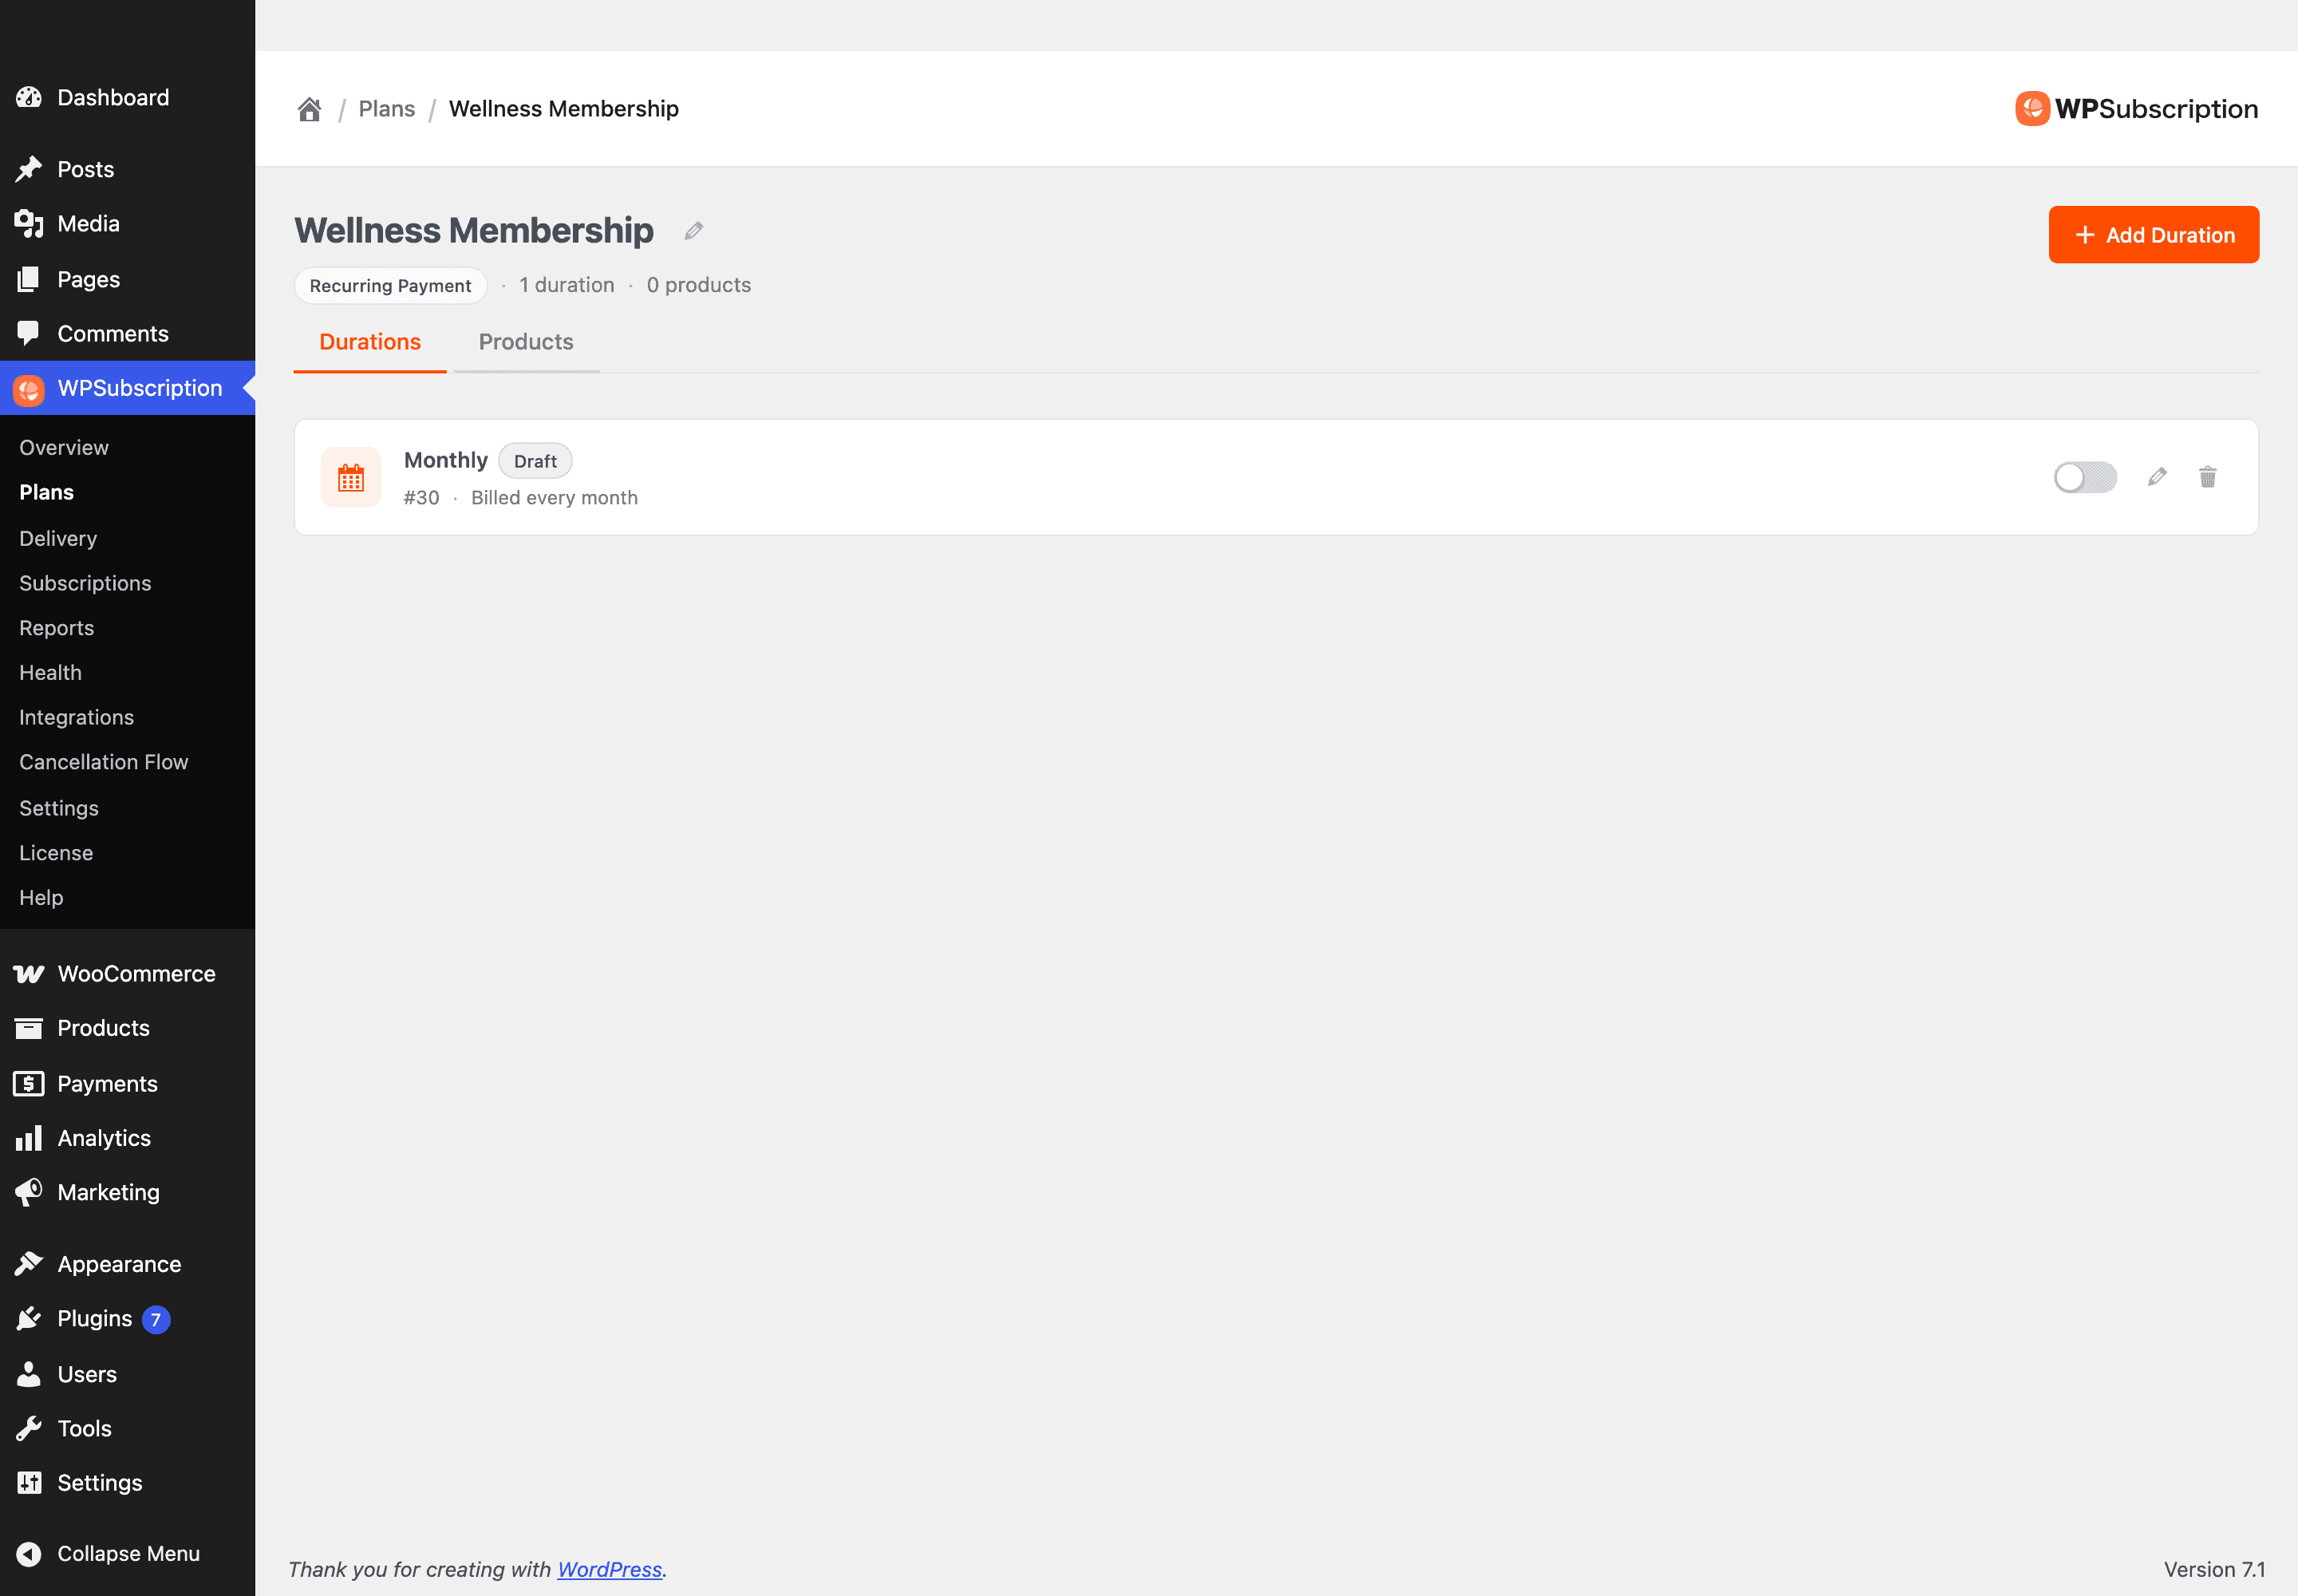
That starter duration is a Draft: it exists, but customers cannot buy it. Edit it to match what you actually sell, then flip its toggle on. Durations covers that in full.
The line under the plan name is the plan at a glance — its type, how many durations it holds, how many products are on it. The two tabs are the two halves of the plan:
Durations — the billing schedules customers choose between. See Plan durations.
Products — what is sold on the plan, and for how much. See Plan products and pricing.
Rename a plan
Click the pencil beside the plan's name, type the new one, and click Save.

Note: The name is customer-facing. Renaming a plan changes the heading shoppers see on every product attached to it, straight away.
What to do next
Set up the plan's durations — how often the customer is charged.
Attach products and set prices — including one-time purchase alongside the subscription.
Generate direct checkout links — one link per price, for ads and emails.
See how plans look on the product page.