
The setup wizard takes a fresh WPSubscription install to something customers can actually buy. It builds a plan, its billing durations, and connects it to a product — the three things a subscription needs — without leaving one screen.
It runs on its own after activation. To run it again later, go to WPSubscription → Setup Wizard.
Note: The wizard was rebuilt in WPSubscription 2.0 around plans. If you used an earlier version, the old wizard asked about per-product settings; this one produces a reusable plan you can attach to more products afterwards.
Prerequisites
WooCommerce, active. WPSubscription will not run without it.
WPSubscription 2.0 or later.
Start
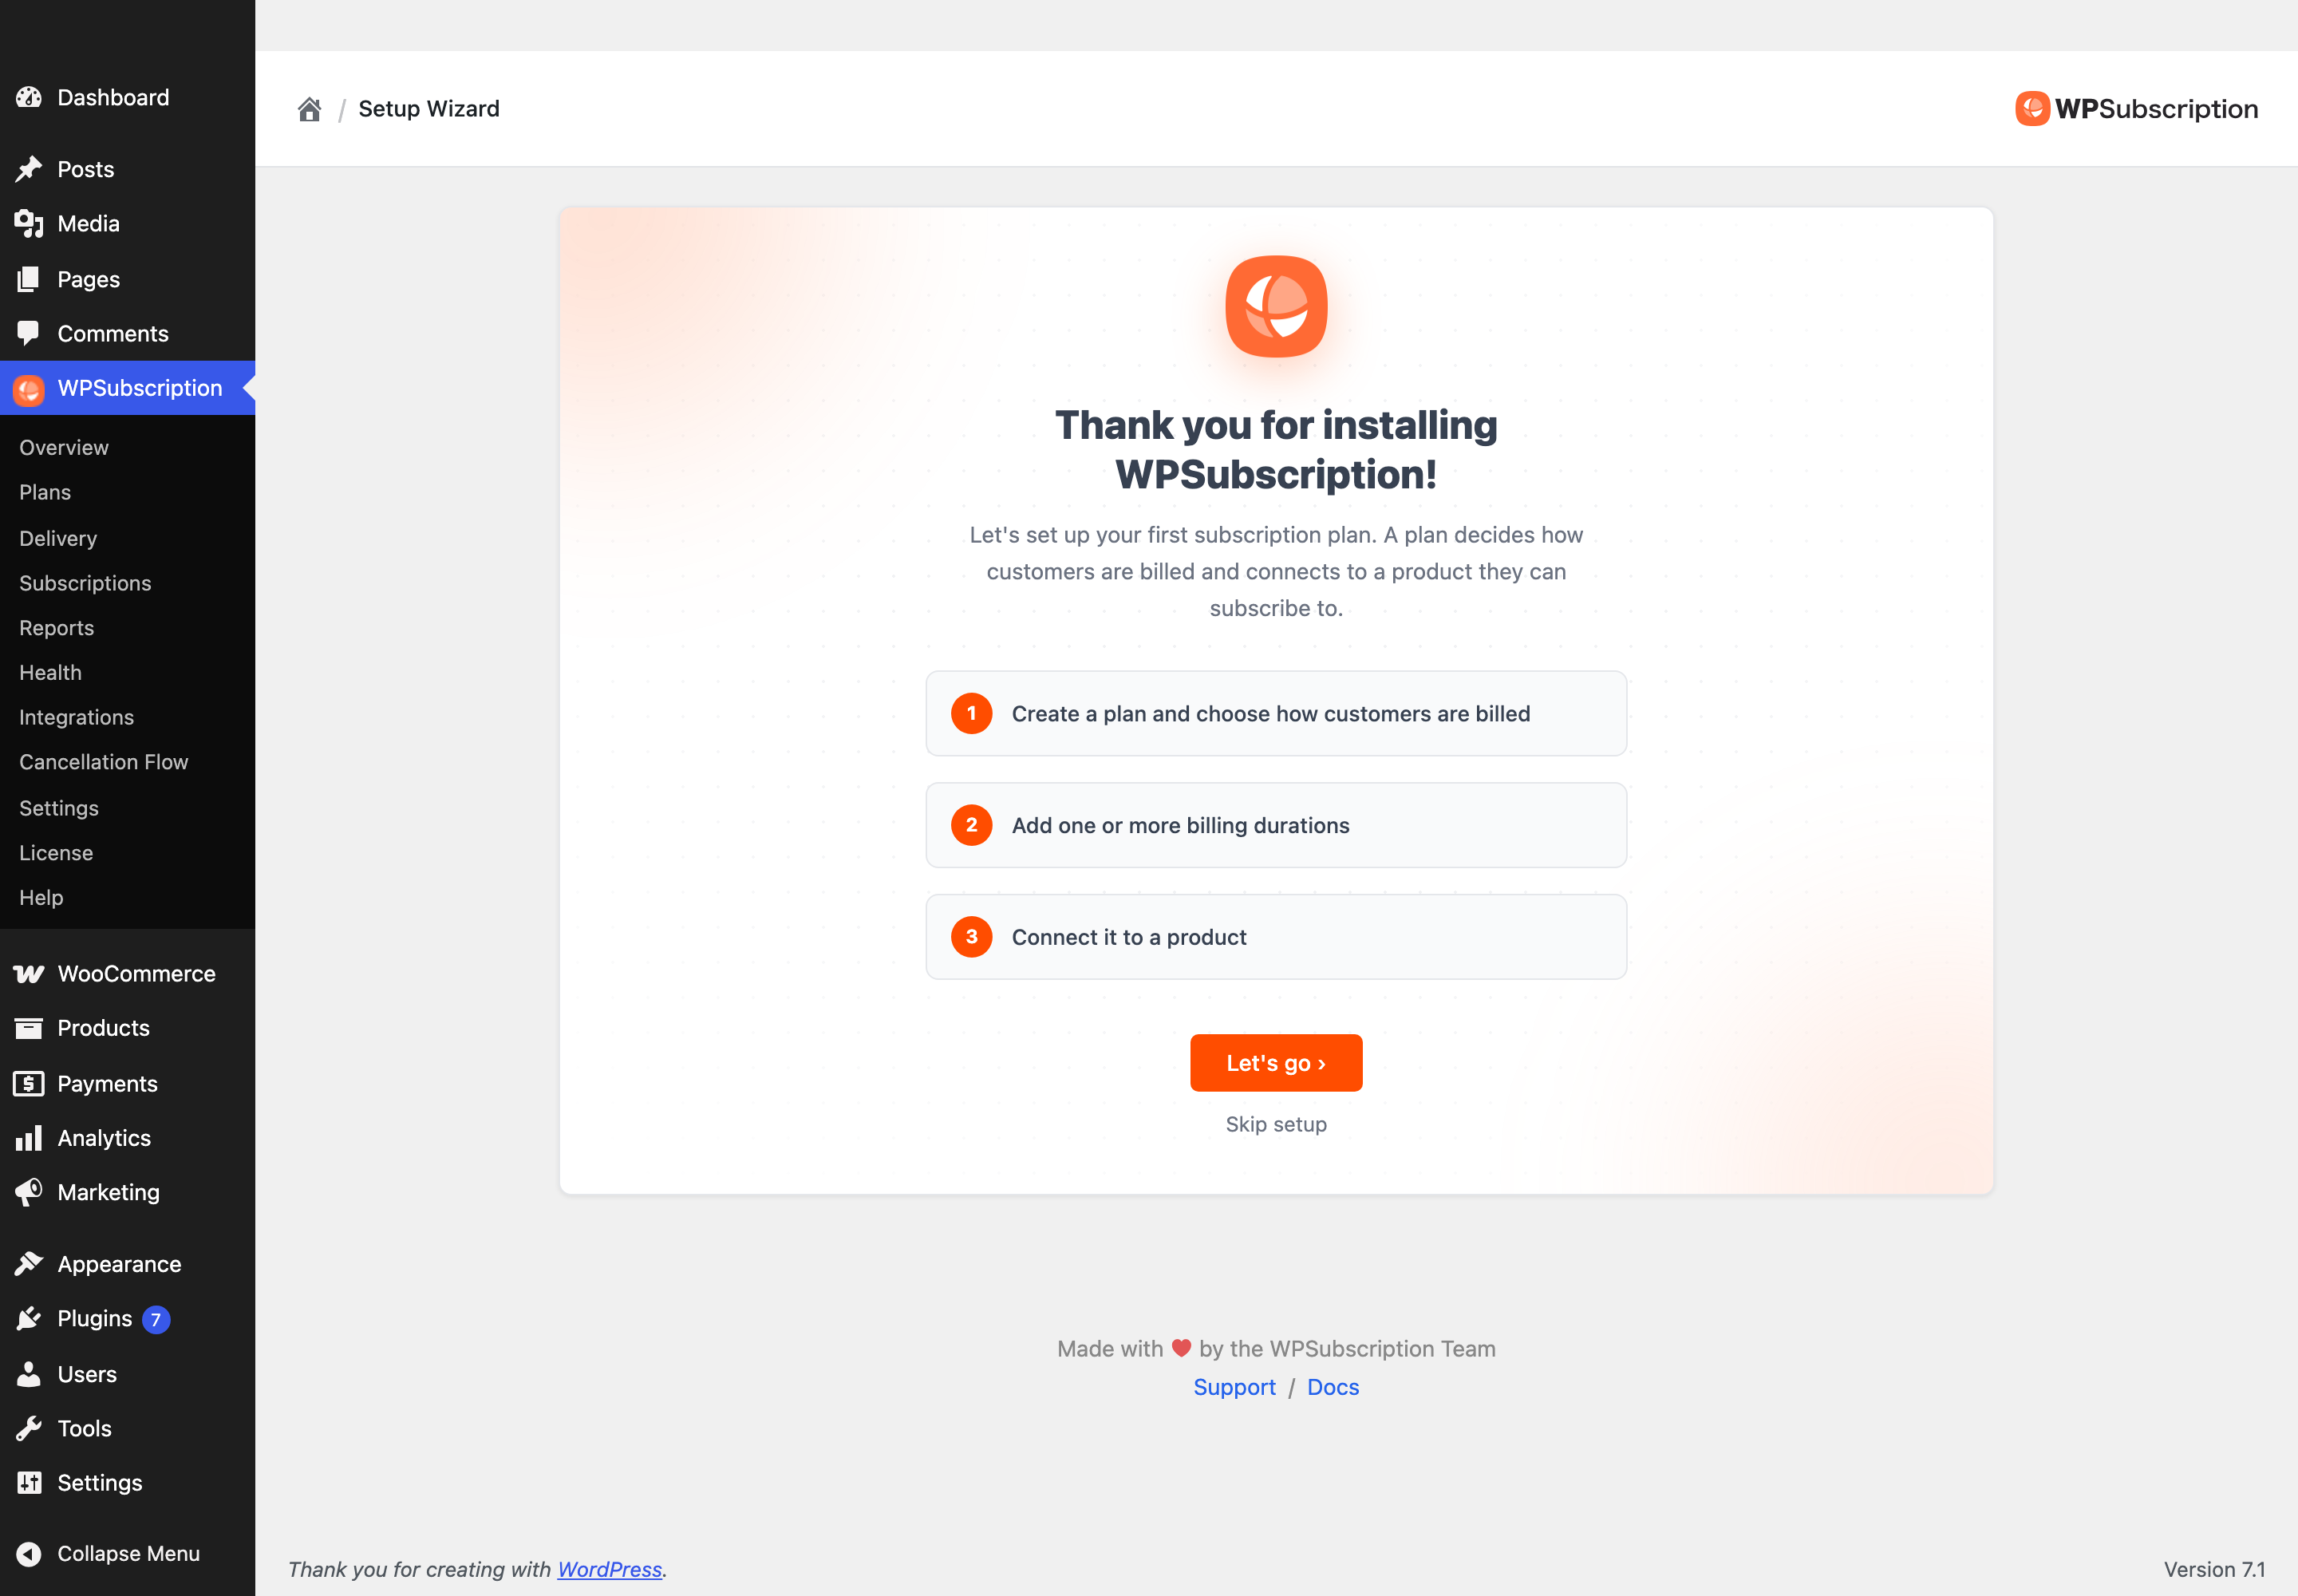
Click Let's go. Skip setup leaves everything alone — nothing is created, and you can build a plan by hand from WPSubscription → Plans instead.
From here a stepper across the top tracks where you are, and a Live preview beside each step shows the plan taking shape.

Step 1 — The plan
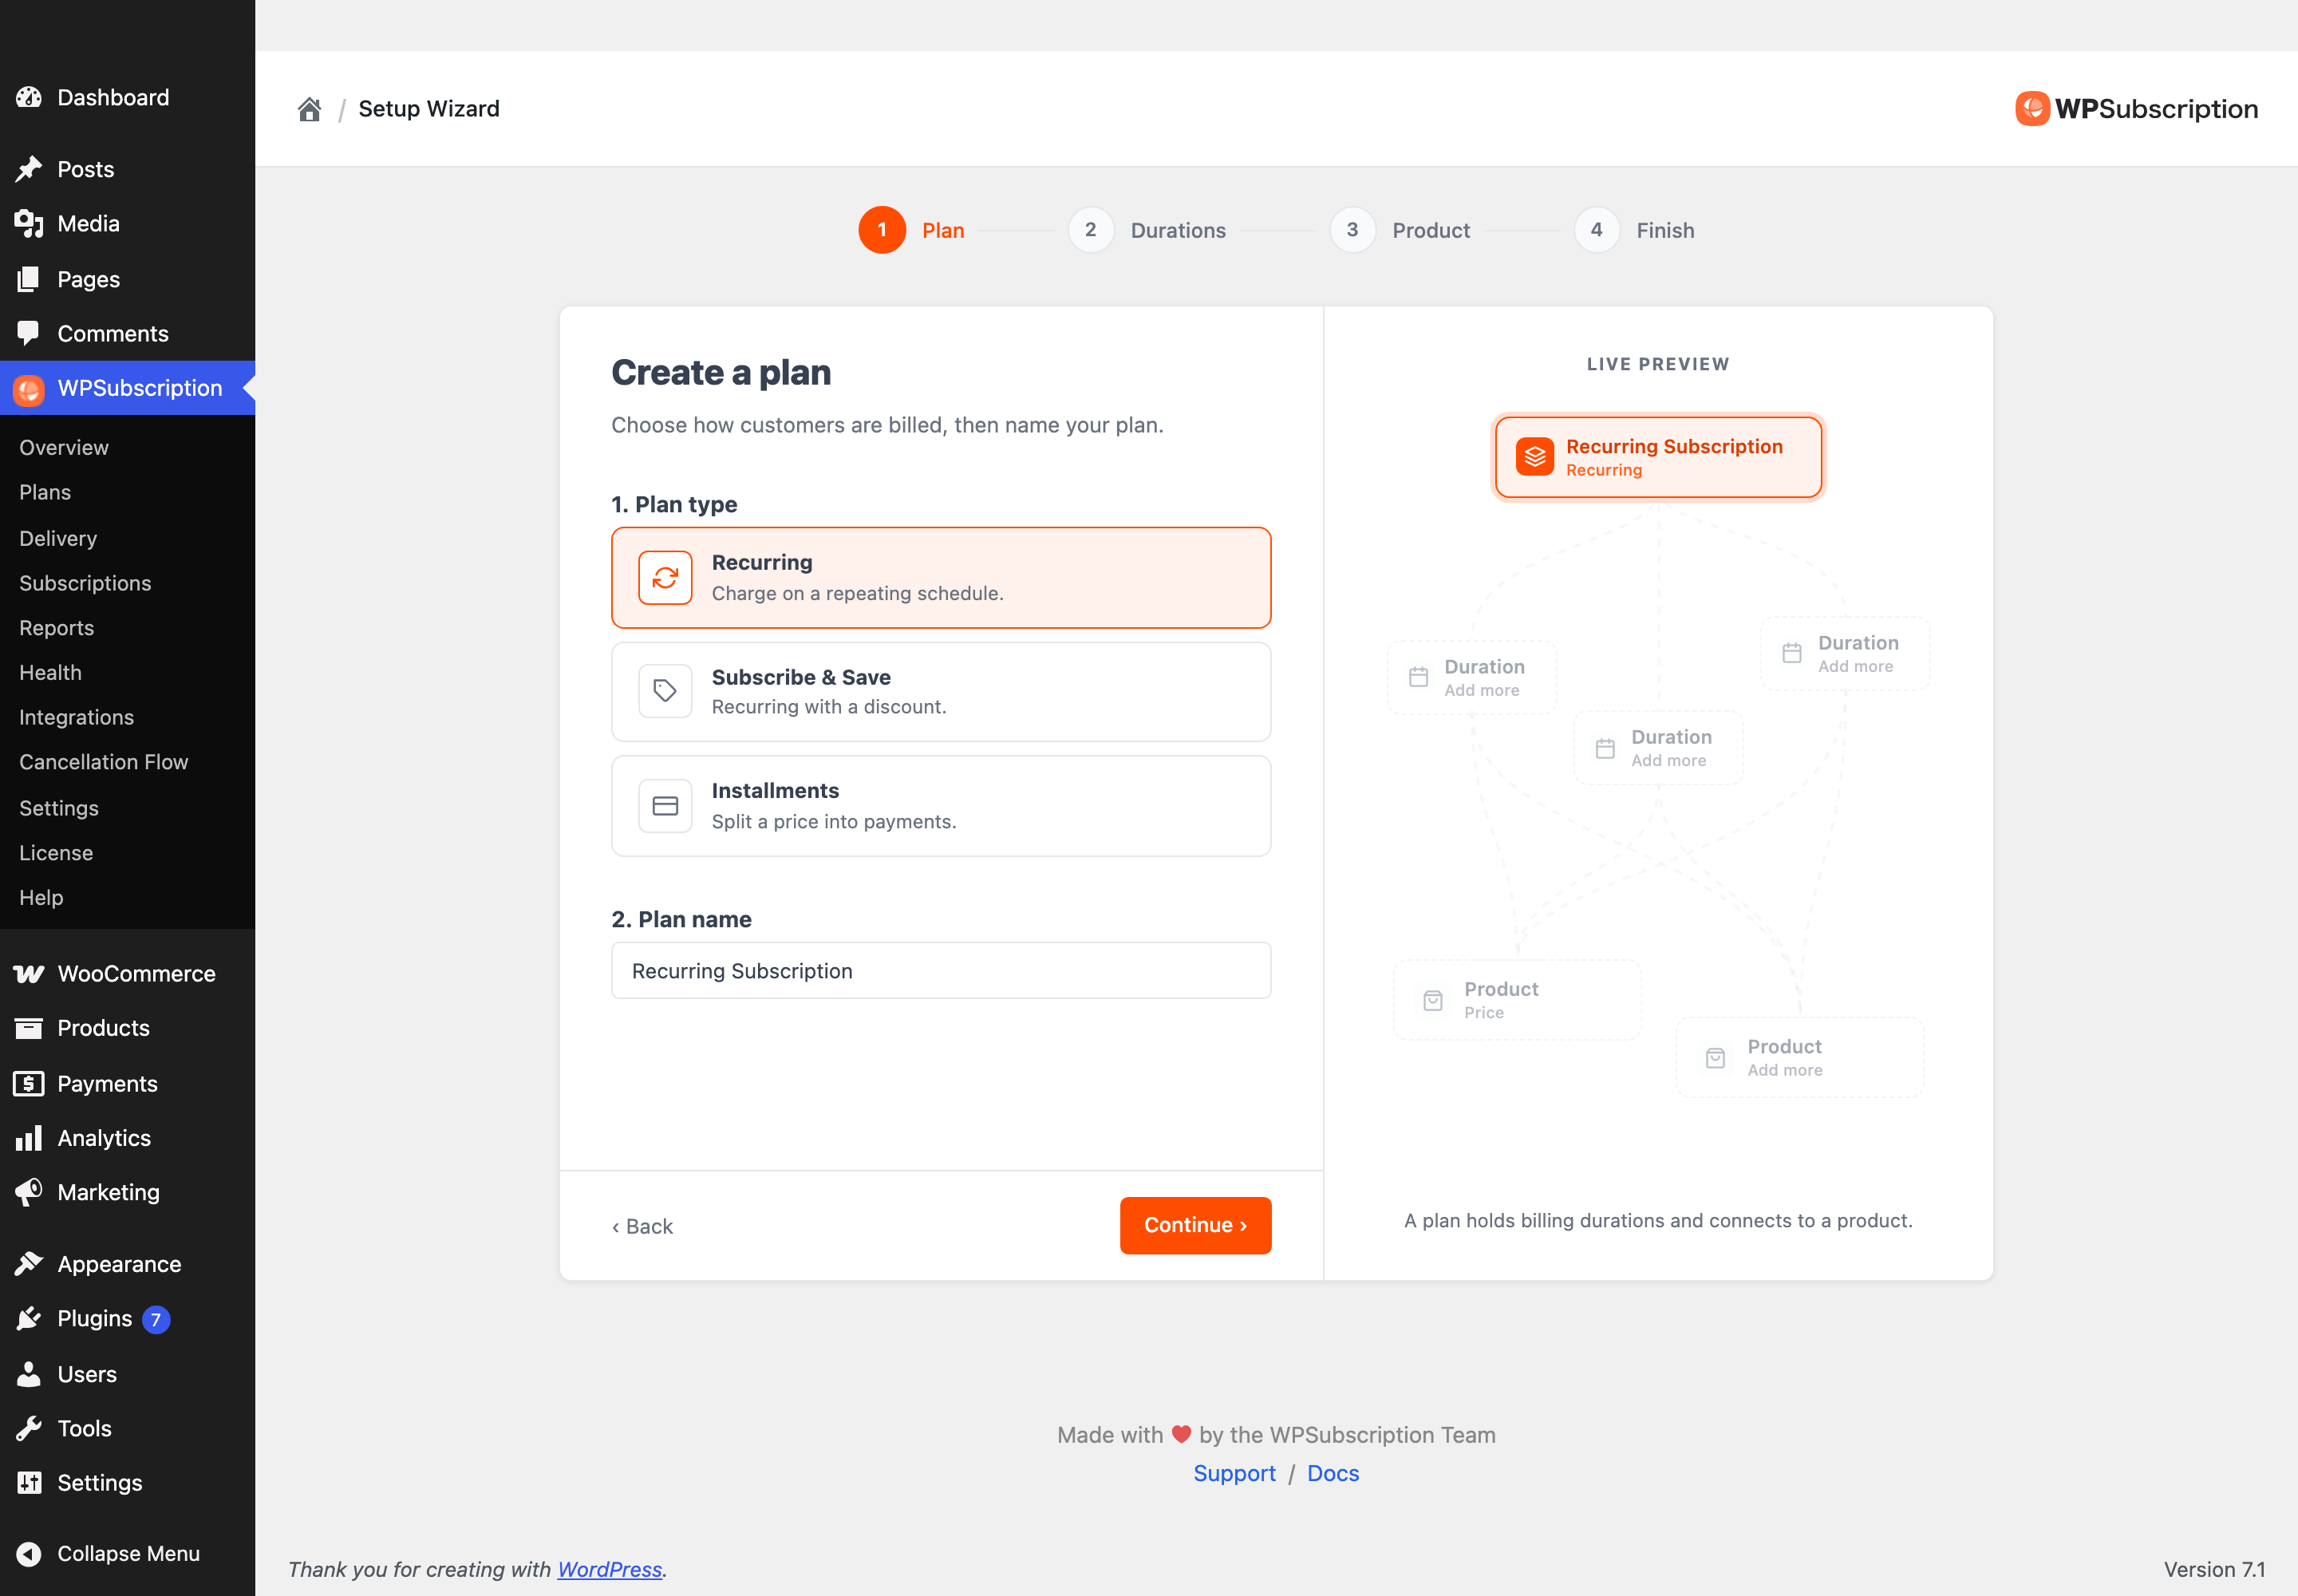
Choose a plan type. Recurring charges on a repeating schedule and is what most stores want; it is the one the free plugin offers. Subscribe & Save and Installments need WPSubscription Pro — Subscription plans explains what each is for.
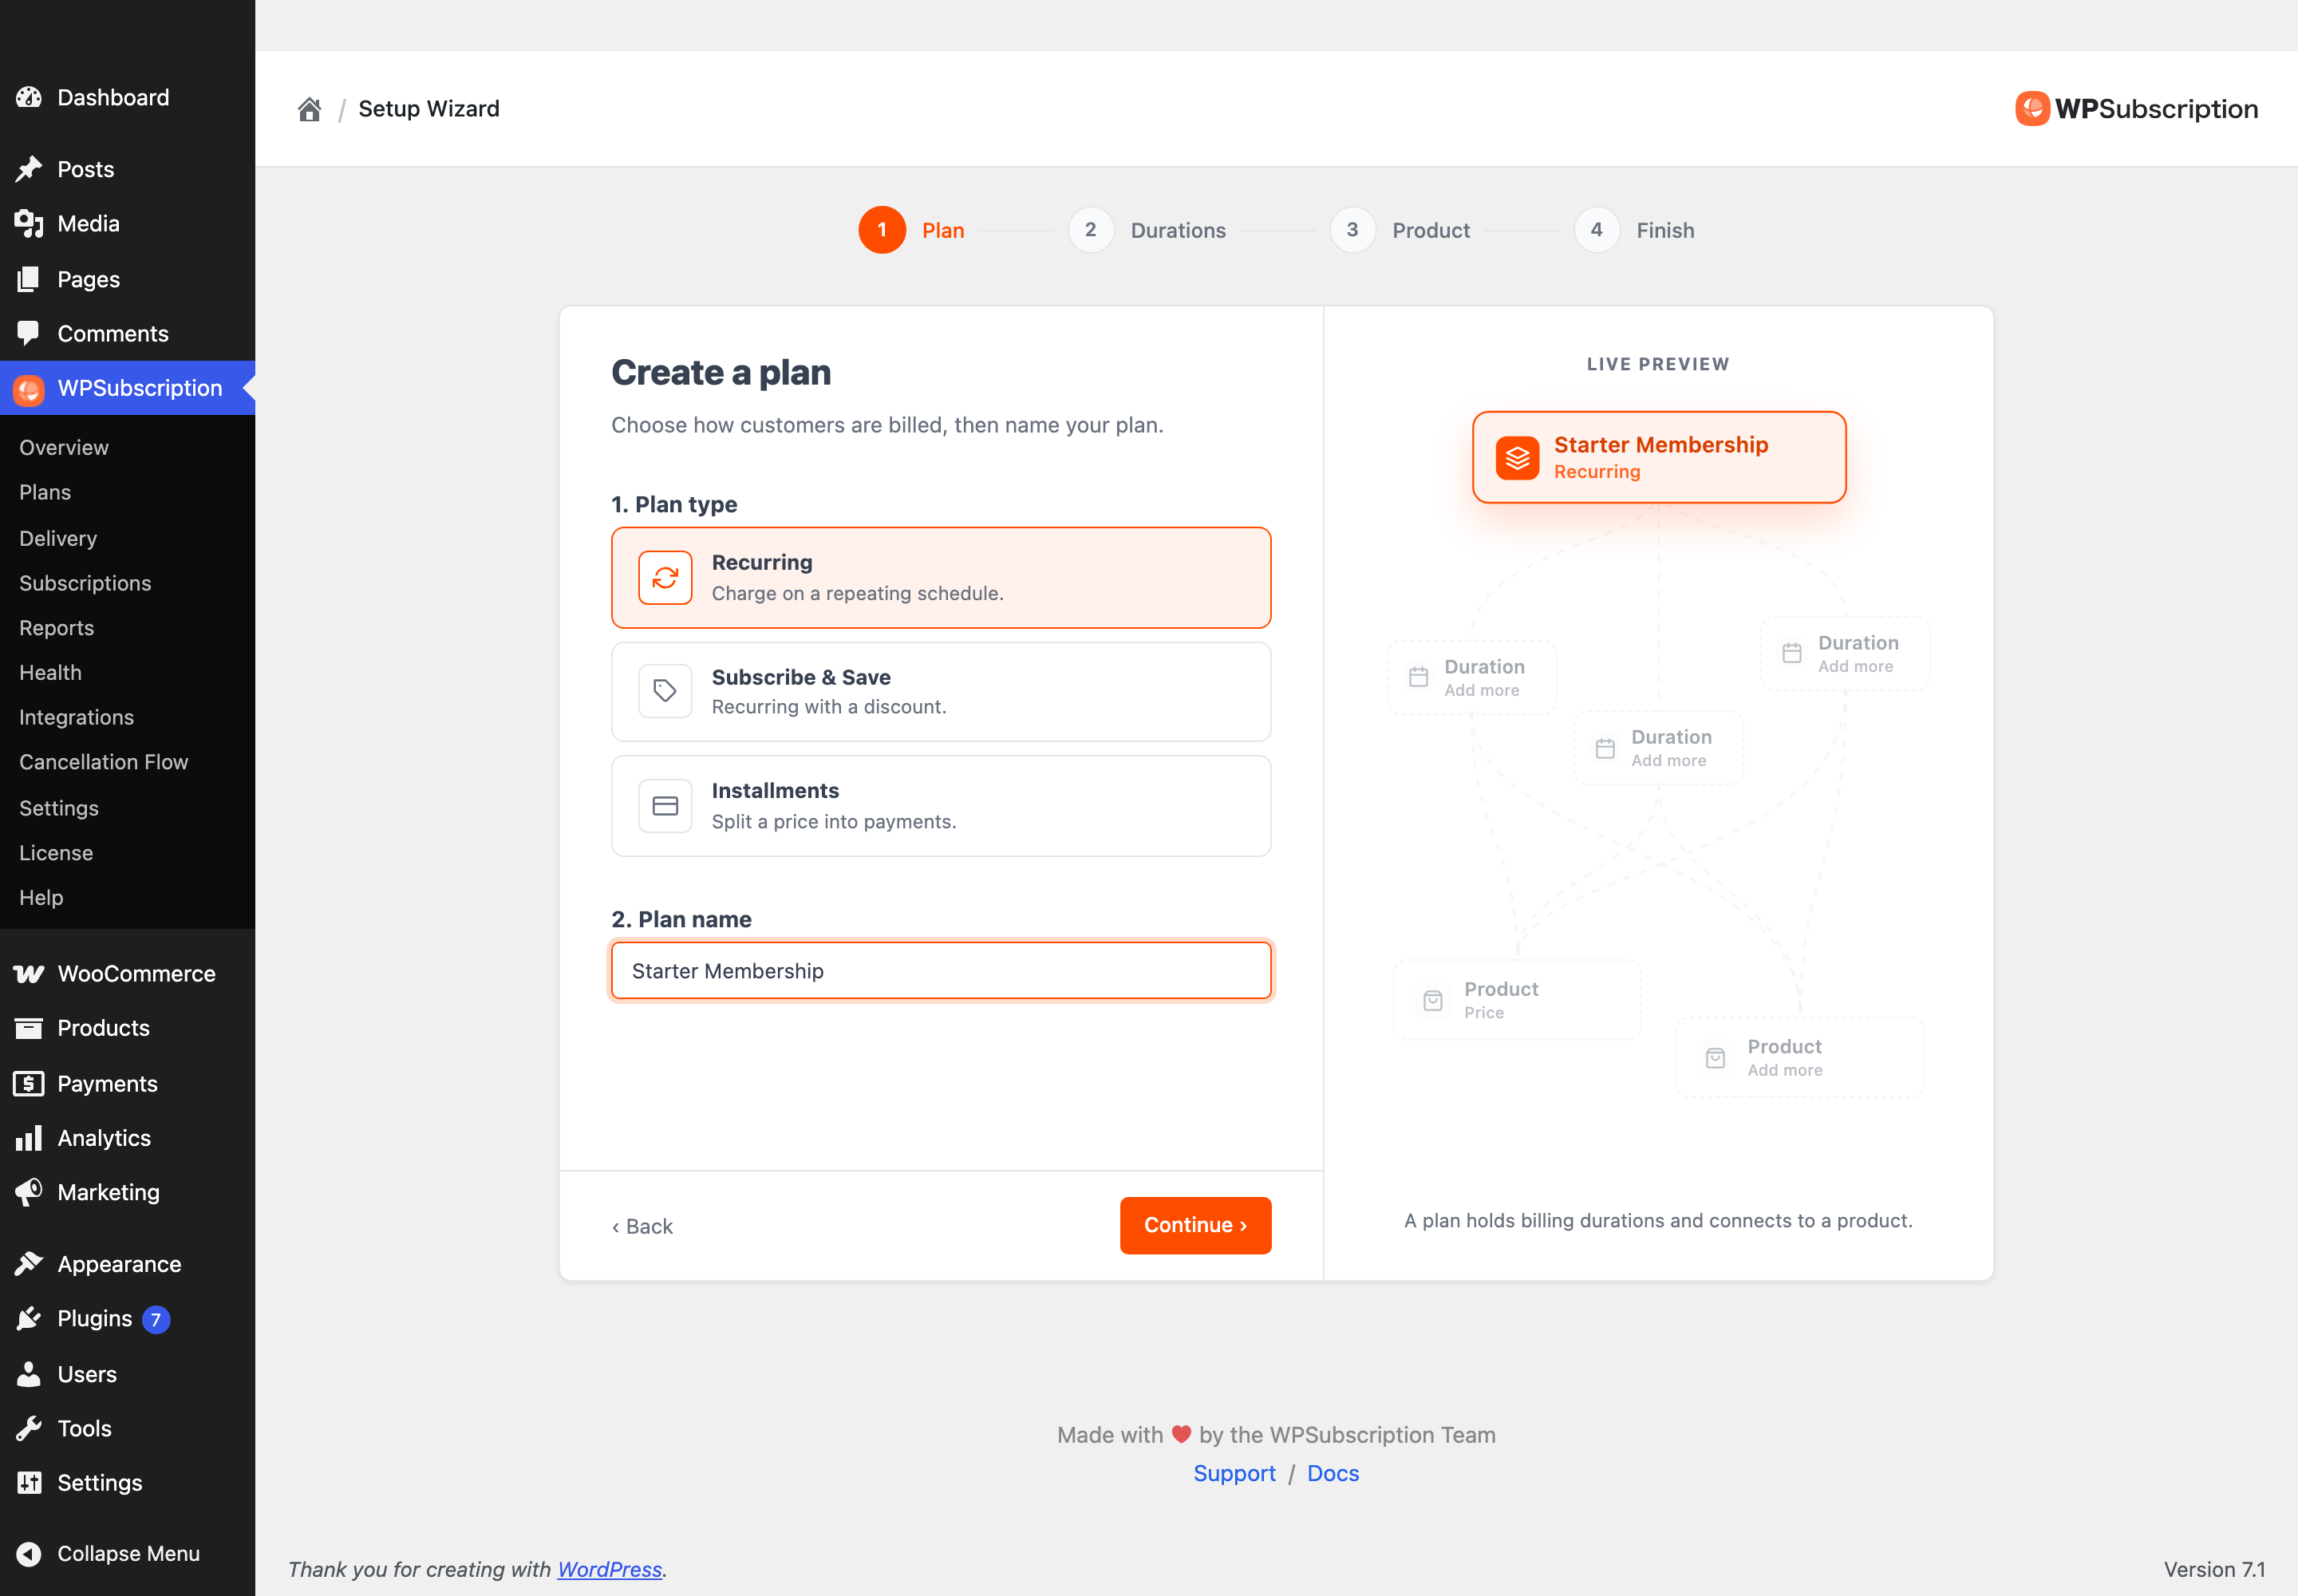
Then name the plan. Customers see this name on the product page, so write it the way you would sell it: Wellness Membership, Subscribe & Save. You can rename it later without breaking anything.
Step 2 — The durations
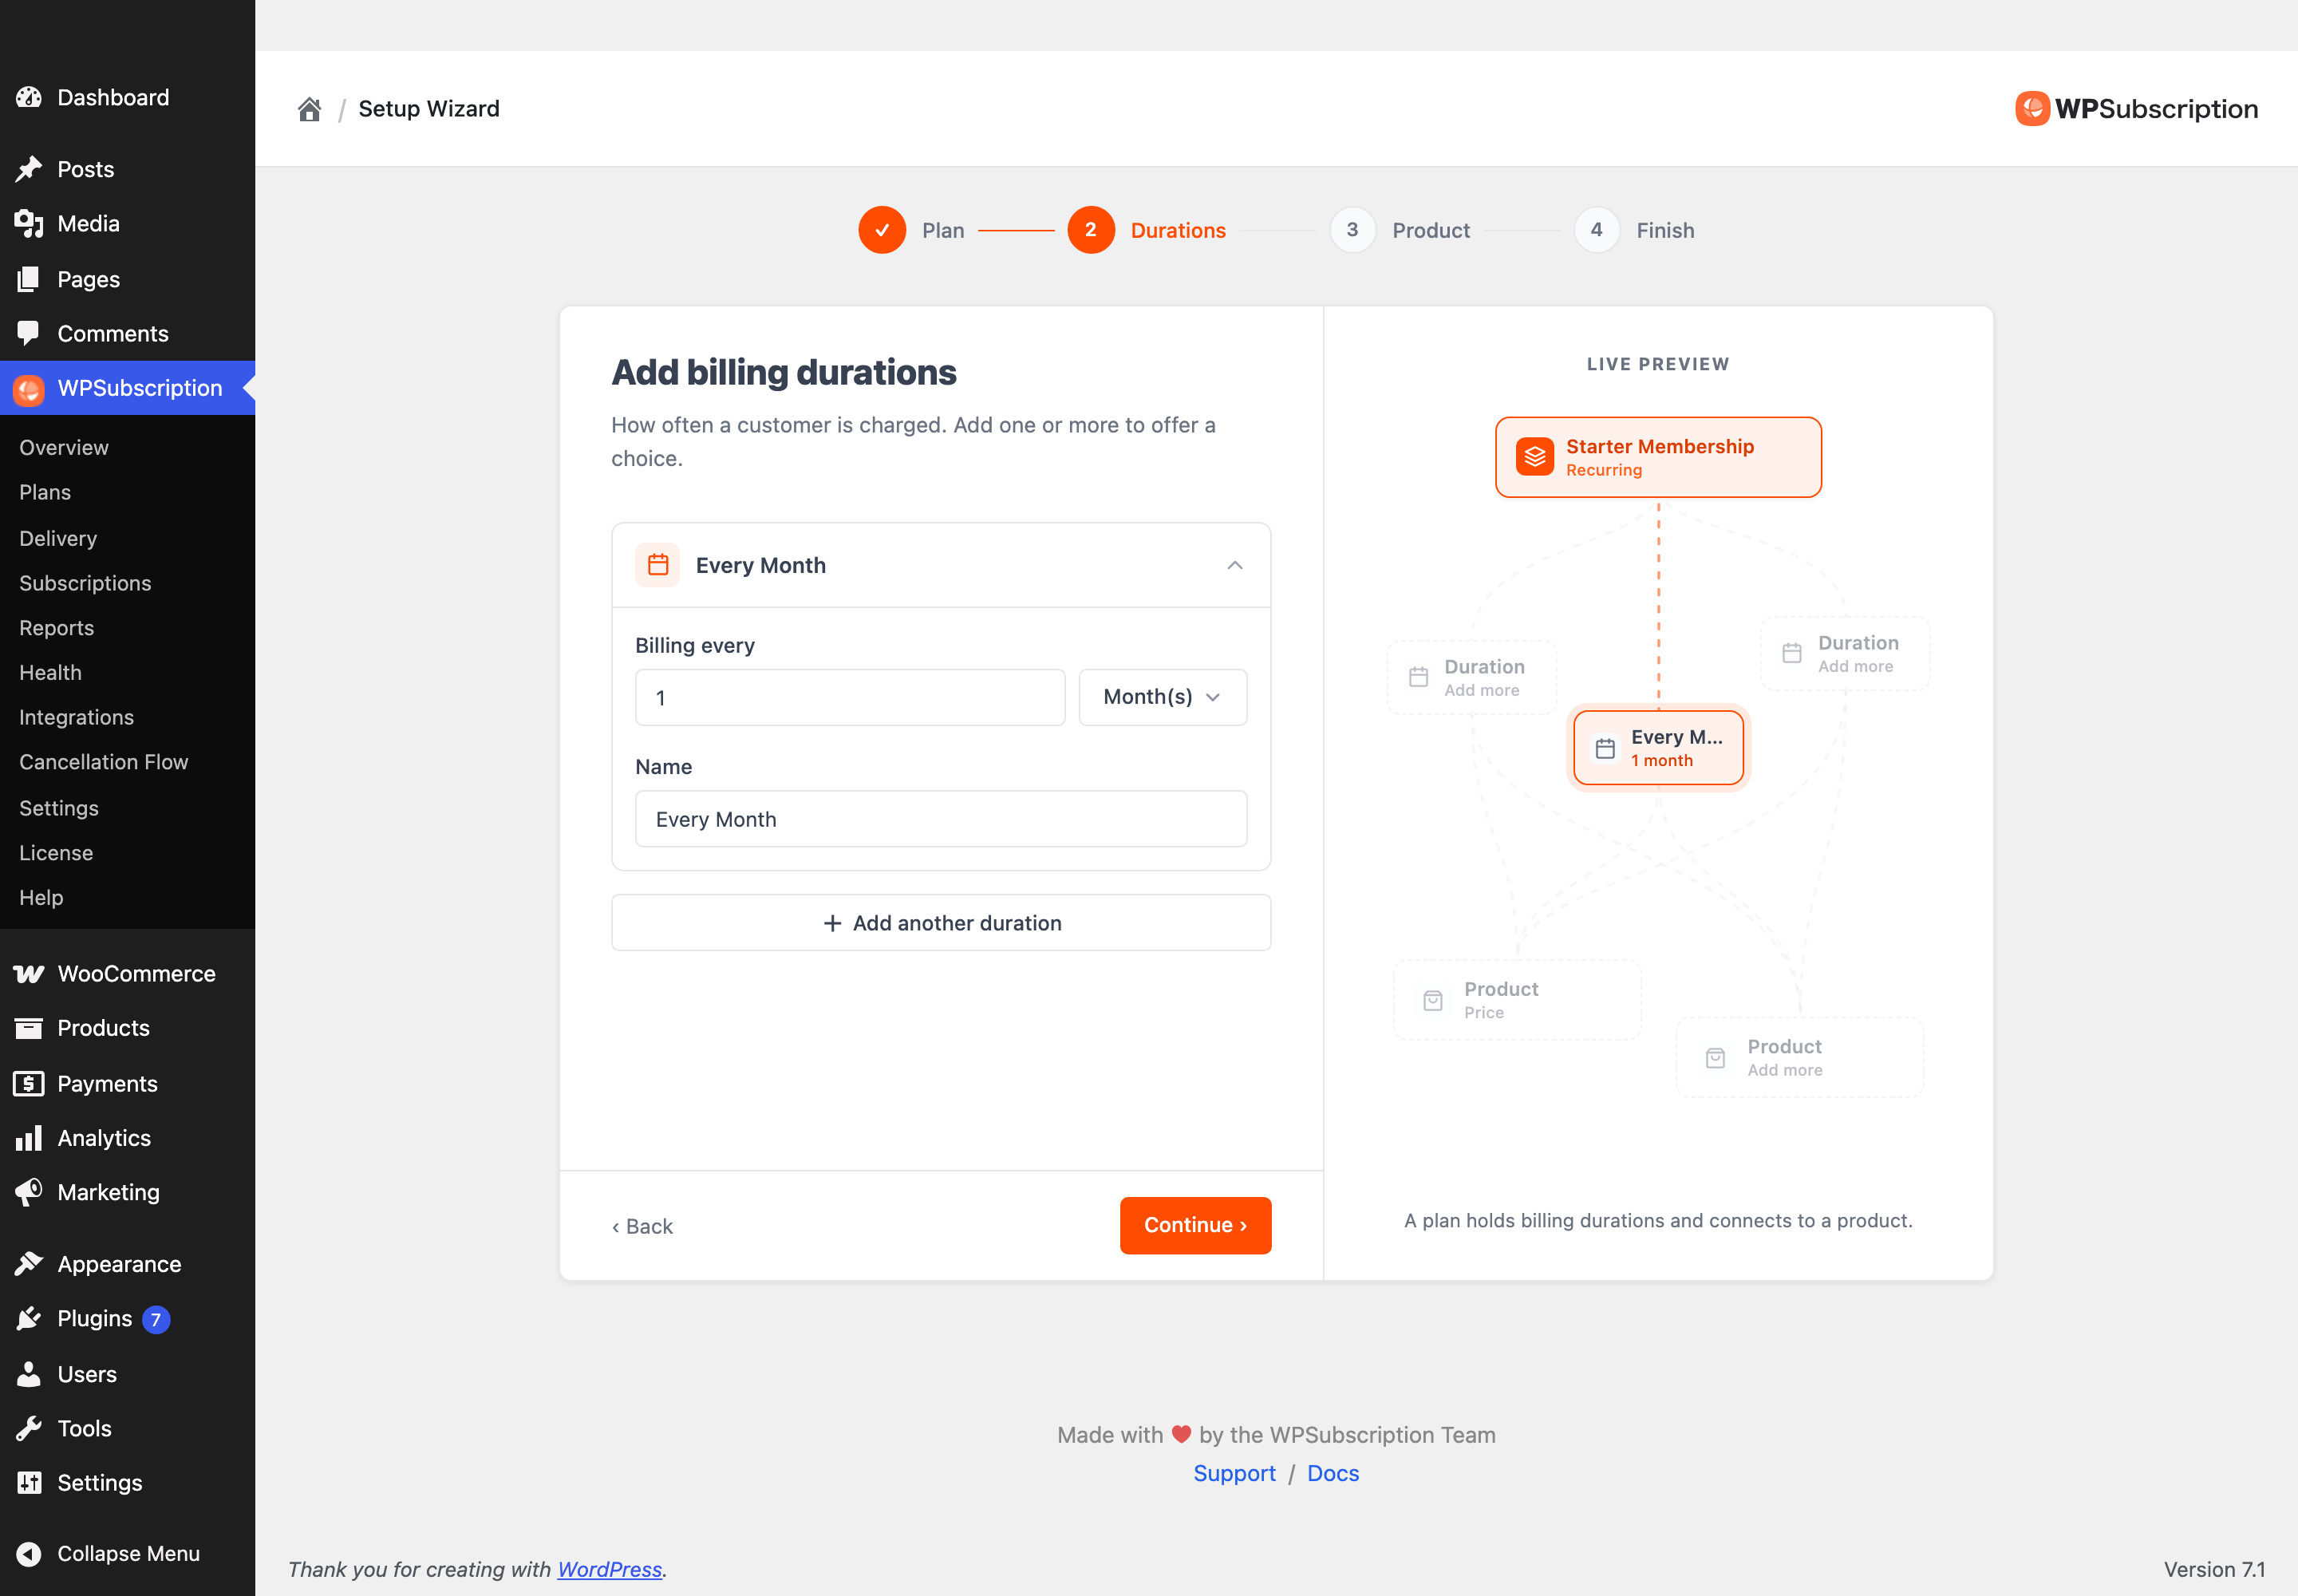
A duration is one billing schedule — Billing every 1 month, 3 months, 1 year. Give it a Name; that is the label on the button the customer clicks.
Add another duration adds a second, a third, as many as you want. Each becomes an option the customer picks between, which is how "$29.95 a month or $299 a year" gets offered. One is a perfectly good place to start — you can add more later from the plan's Durations tab.
Step 3 — The product
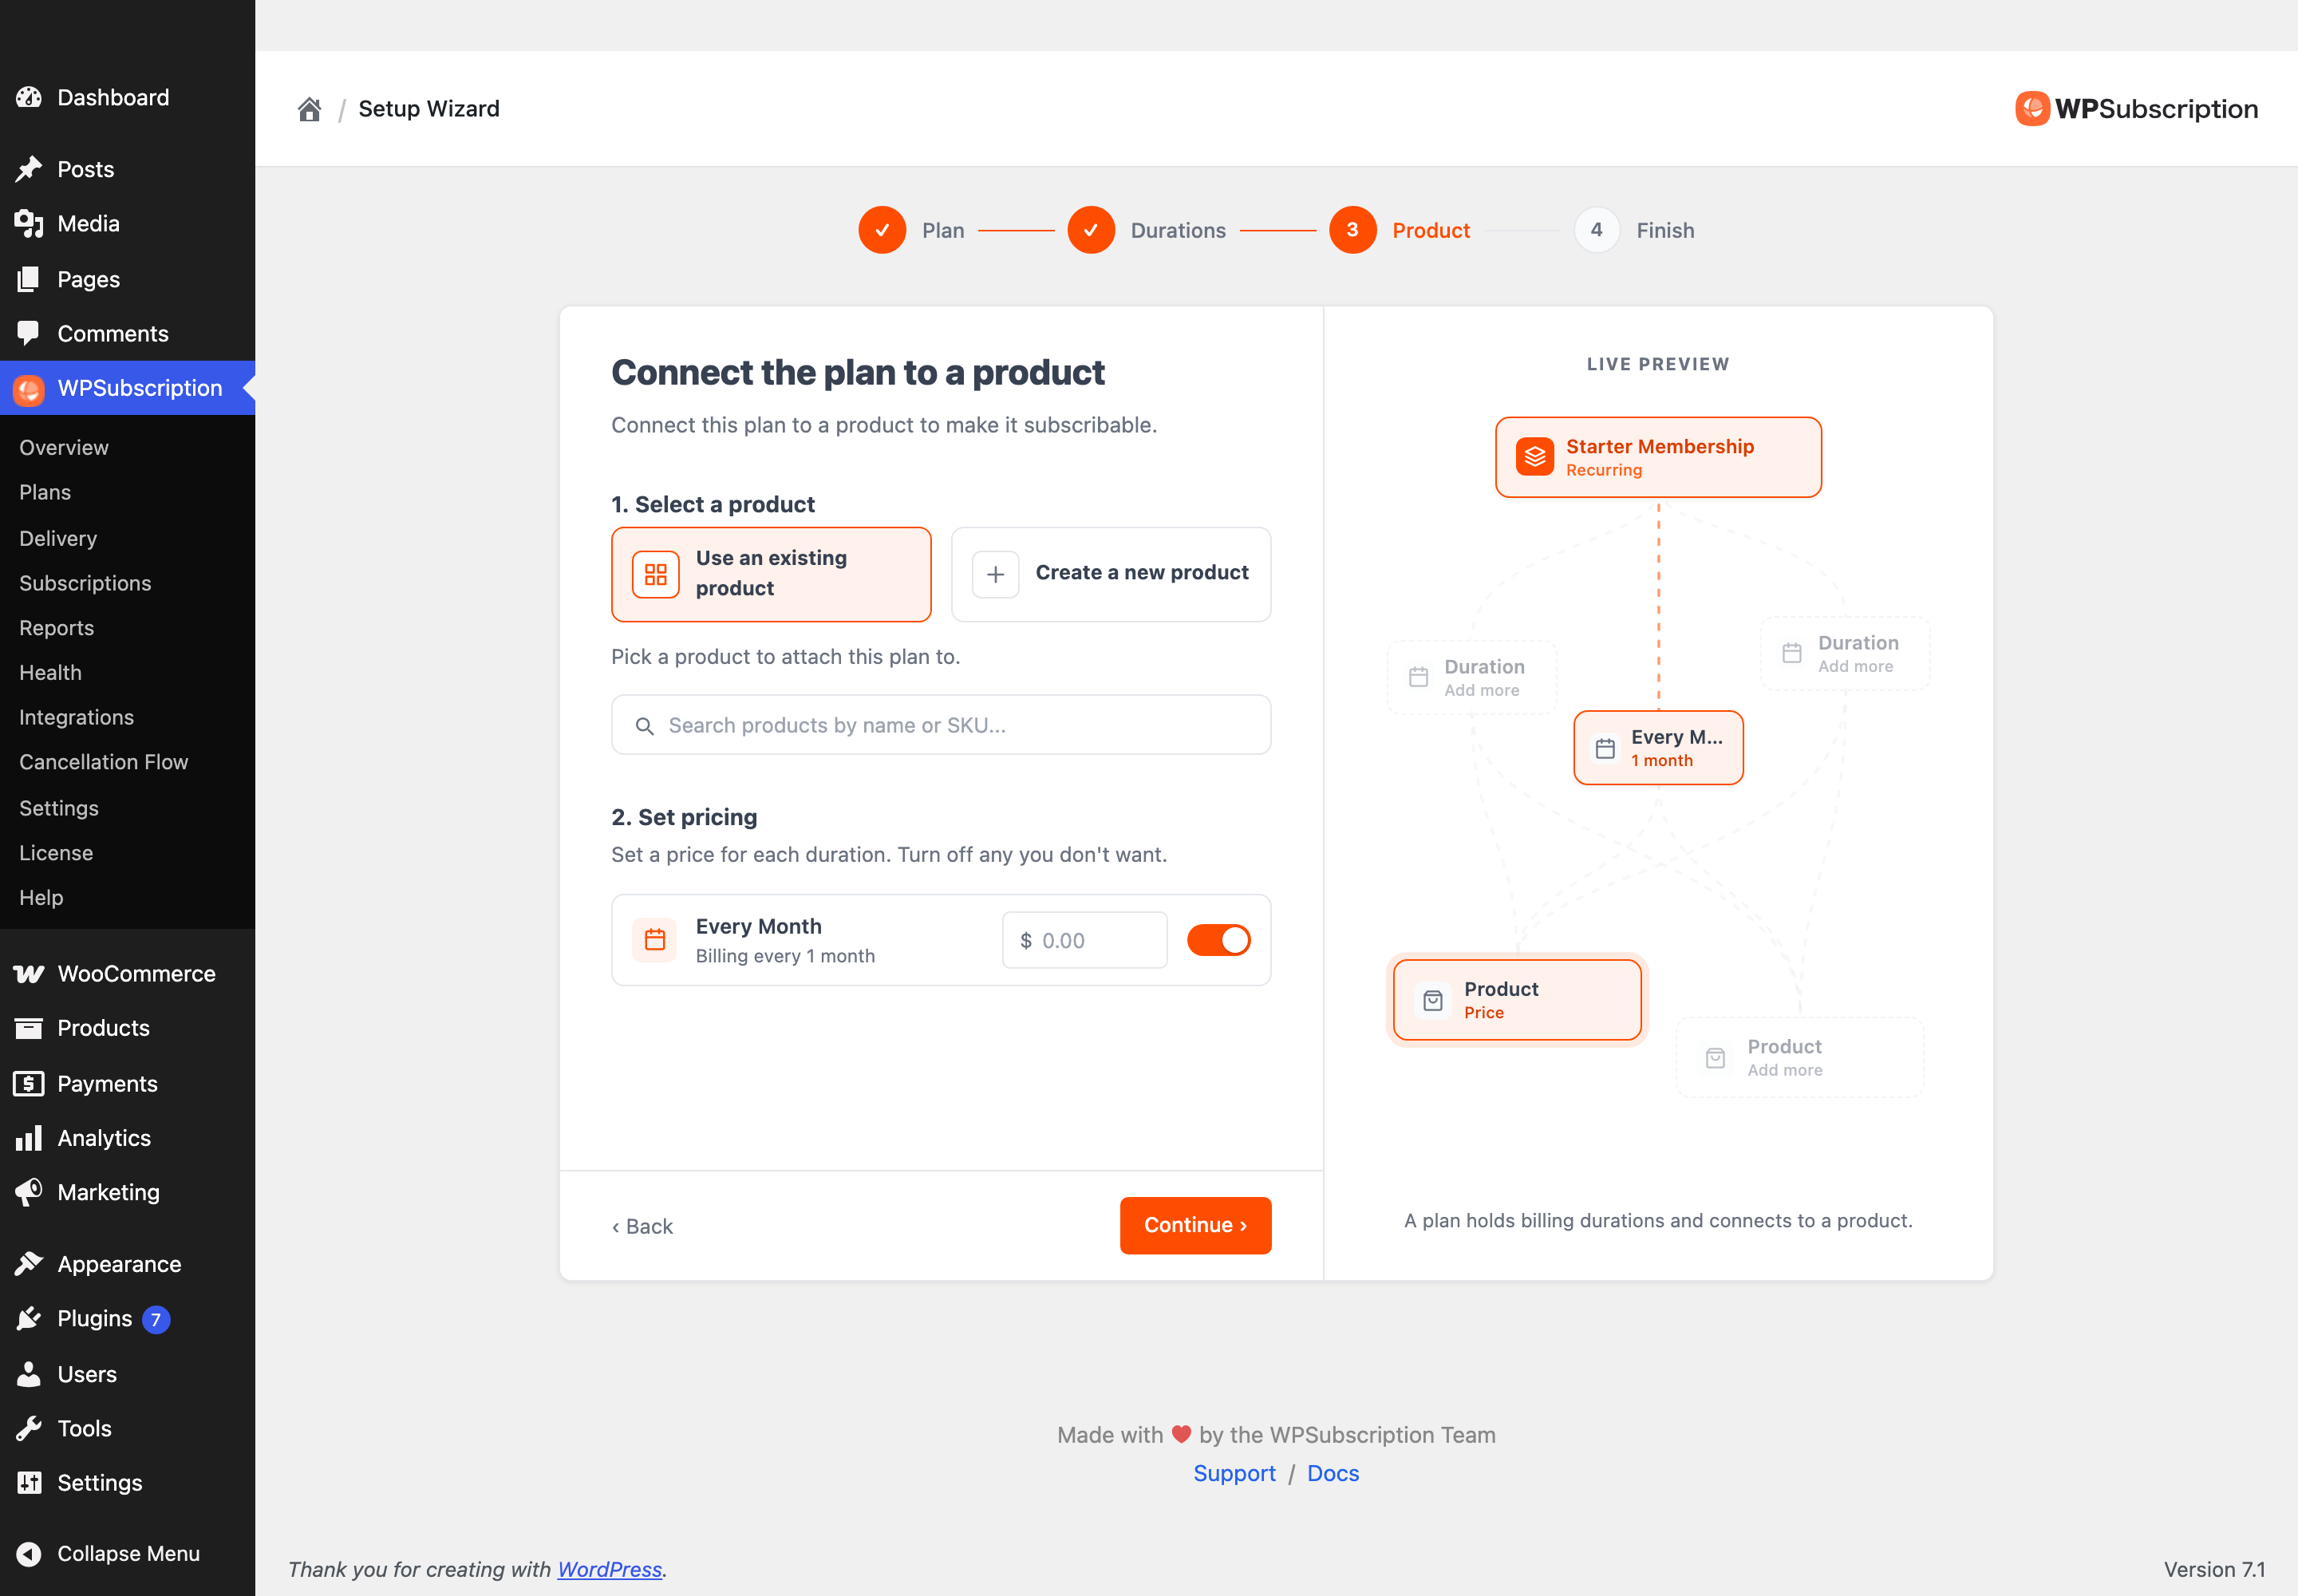
A plan on its own is not for sale. This step attaches it to a product.
Use an existing product — search your catalogue by name or SKU.
Create a new product — the wizard makes one for you.
Then set a price for each duration. The toggle beside each one turns that duration off for this product, so you can offer monthly here and monthly-plus-yearly elsewhere on the same plan.
Note: A product already attached to another plan is marked Added to another plan in the picker. That is information, not a block — but a product on two plans shows both to the customer, which is rarely what you want.
Step 4 — Finish
The wizard creates the plan, its durations and the product connection, and then offers Go to Plans, Go to products and Finish. Create another plan runs it again from the top if you sell more than one thing.
At this point the product is live: open it on the storefront and the plan selector is there. How plans look on the product page shows what the customer now sees.
After the wizard
The wizard deliberately asks for the minimum. Everything it skipped is waiting where it belongs:
To do this | Go here |
|---|---|
Add a discount, a free trial or a signup fee | |
Put more products on the plan | |
Offer the product for one-time purchase too | |
Take payments | WooCommerce → Settings → Payments, then the Integrations screen |
Change how renewals behave |
Warning: A store cannot charge anybody until a payment gateway is set up. The wizard does not configure one — the Overview screen will keep reminding you until you do.